

Interior painting can completely change how a home feels. Fresh colors brighten rooms, hide wear, and make spaces feel new again. But paint jobs don’t always go as planned—especially when floors, furniture, or fixtures aren’t protected properly.
Paint splatters, dust, and accidental spills can cause damage that’s expensive and frustrating to fix. The good news is that most of these problems are preventable. With the right preparation and a few smart techniques, you can protect your home and keep the focus where it belongs—on great results.
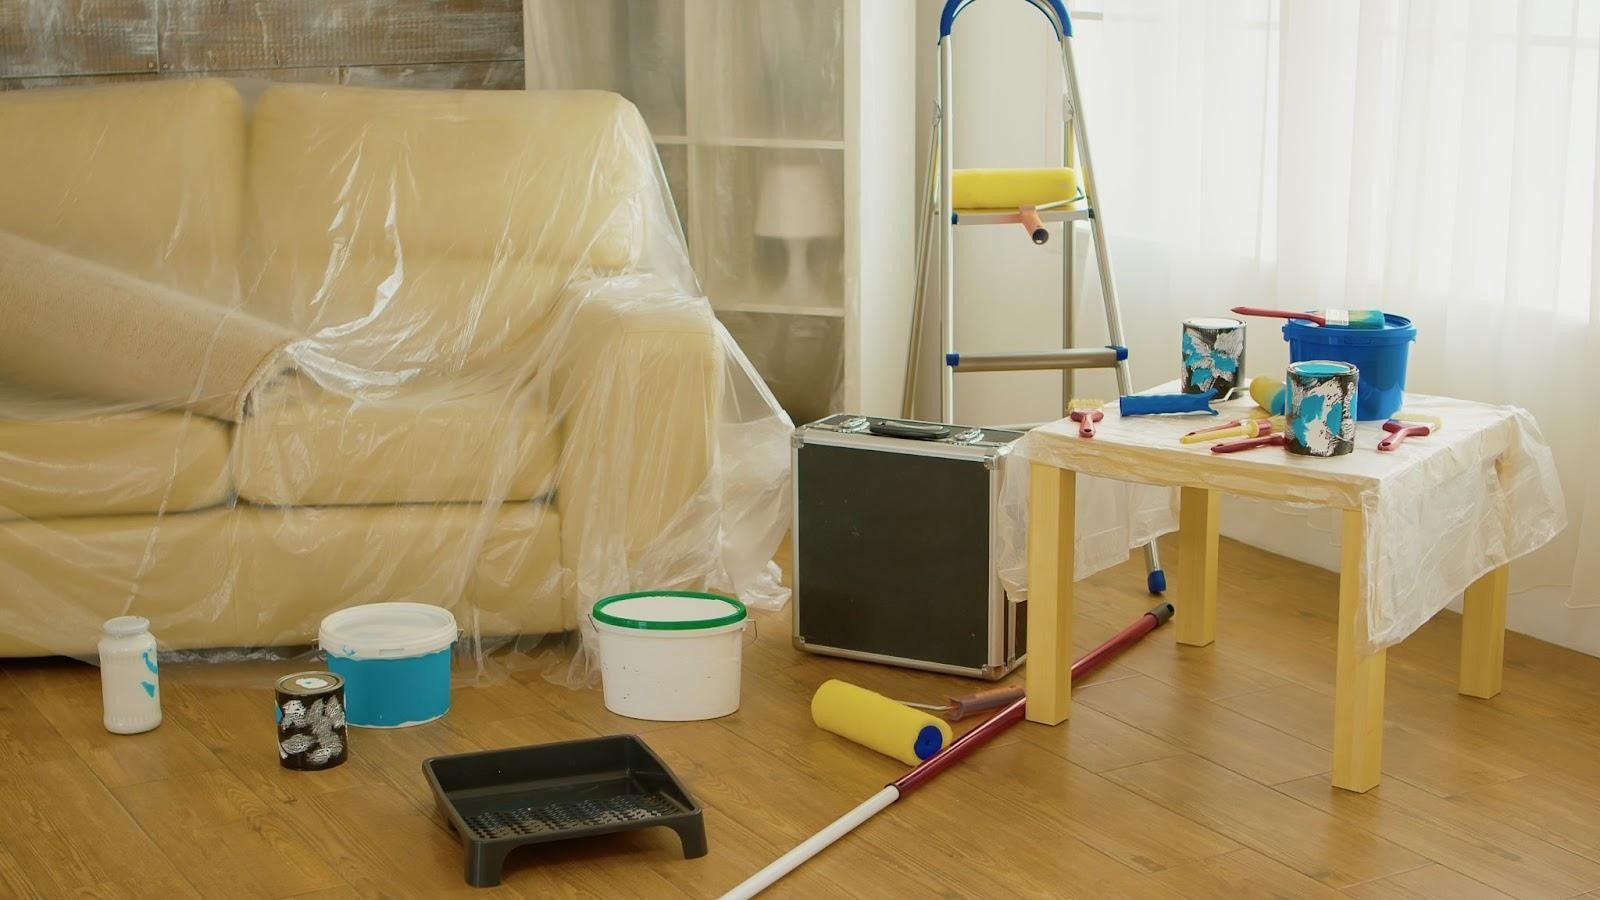
This guide walks through practical, proven ways to protect floors and furniture during interior painting, whether you’re doing it yourself or working with a qualified interior painting professional.
Why Protection Matters More Than You Think
Paint isn’t the only risk during an interior project. Even careful painters create dust, drips, and movement that can harm surfaces.
Common issues include:
- Paint splatter on hardwood or tile
- Roller marks on carpets
- Dust settling into fabric furniture
- Scratches from ladders and tools
- Accidental spills during cleanup
Once paint dries, removing it without damage is difficult. Prevention is far easier—and far cheaper—than repair.
Start With a Clear, Empty Workspace
The best protection starts with space.
Remove What You Can
Before painting begins:
- Take out small furniture, rugs, lamps, and décor
- Clear shelves, countertops, and window sills
- Remove wall hangings, mirrors, and curtain rods
The fewer items in the room, the lower the risk of damage.
Group Large Items Together
For furniture that can’t be removed:
- Push items toward the center of the room
- Leave space between furniture and walls
- Avoid stacking pieces too tightly
This setup makes covering easier and safer.
Use the Right Floor Protection (Not Just Any Covering)
Not all drop cloths are created equal. Choosing the wrong one can actually increase the risk of damage.
Best Options for Floors
- Canvas drop cloths: Durable, reusable, and non-slip
- Heavy-duty rosin paper: Great for hardwood and tile
- Plastic-backed fabric covers: Protects against spills without sliding
Avoid thin plastic sheets on floors. They’re slippery and can trap wet paint underneath.
Secure the Edges
Use painter’s tape to secure coverings along:
- Baseboards
- Doorways
- Transitions between rooms
This prevents shifting as people move around.
Protect Carpets With Extra Care
Carpets are especially vulnerable because paint can soak into fibers quickly.
To protect carpeted areas:
- Vacuum thoroughly before covering
- Use plastic-backed canvas or specialized carpet film
- Tape edges tightly without pulling fibers
For long projects, lift and check coverings daily to ensure no moisture or paint is trapped underneath.
Cover Furniture the Smart Way
Throwing a sheet over furniture isn’t enough.
Use Proper Furniture Covers
The best options include:
- Thick plastic sheeting for full protection
- Lightweight canvas for breathable coverage
- Pre-sized furniture covers for sofas and chairs
Avoid using old bed sheets alone. They absorb paint and allow seepage.
Seal From the Bottom Up
- Cover furniture completely
- Tuck plastic under legs
- Tape loosely at the base to prevent airflow lifting the cover
This method keeps dust and splatter out from all sides.
Protect Walls, Trim, and Fixtures
It’s easy to forget what isn’t being painted—but those surfaces matter too.
Tape What You’re Not Painting
Use high-quality painter’s tape on:
- Door frames
- Window trim
- Baseboards
- Light switches and outlets
Press tape firmly to avoid bleeding, and remove it while paint is still slightly wet for clean lines.
Remove Fixtures When Possible
Instead of taping around:
- Light fixtures
- Outlet covers
- Vent covers
Removing them gives better results and reduces cleanup time.
Don’t Forget Doors and Hallways
Paint accidents often happen outside the room being painted.
Protect:
- Hallways used to carry tools
- Staircases
- Entryways and door thresholds
Laying down continuous floor protection between rooms prevents tracking paint through the house.
Use the Right Tools to Reduce Mess
The cleaner the tools, the safer your space.
Helpful tools include:
- Roller trays with deep wells
- Drip-resistant roller covers
- Angled brushes for better control
- Extension poles to reduce ladder movement
These small choices reduce splatter and accidental contact with surfaces.
Control Dust and Airflow
Paint prep creates dust, especially when sanding walls or trim.
To manage it:
- Close doors and seal vents in the room
- Use plastic sheeting to block open doorways
- Open windows only when dust has settled
Some homeowners rely on a trusted house painting specialist specifically because they understand how to control dust and airflow in lived-in homes.
Clean As You Go (Not Just at the End)
Waiting until the end to clean increases risk.
Best habits:
- Wipe drips immediately
- Keep damp rags nearby
- Check floors and covers regularly
- Remove trash and used materials daily
Fresh paint is much easier to remove than dried paint.
When Professional Experience Makes the Difference
Even with careful prep, interior painting involves movement, timing, and technique. Experienced painters follow structured protection systems because they’ve seen what goes wrong when steps are skipped.
They know:
- Which materials work best on different surfaces
- How to protect homes with pets or kids
- How to move efficiently without causing damage
Whether DIY or professional, preparation is what separates a smooth project from a stressful one.
Final Thoughts
Protecting floors and furniture during interior painting isn’t optional—it’s essential. A few extra hours of preparation can prevent weeks of frustration and costly repairs.
By clearing spaces, using the right coverings, sealing vulnerable areas, and staying organized throughout the process, you protect not just your home, but your peace of mind.
Paint should improve your space, not leave behind problems. When protection is done right, the only thing you notice at the end is the fresh new look.