
 Photo From tenthousandfootview
Originally Posted On: https://www.tenthousandfootview.com/how-to-optimize-google-merchant-center/
You’ve got your feed into Google Merchant Center, have all your products approved and are running a profitable shopping campaign. Life is good.
But whether you’re running Smart Shopping, standard campaigns with ROAS bidding, or a series of level-of-intent campaigns with manual bids, you could always be doing better. In this article, I’m going to show you how to supercharge Google Merchant Center to improve performance and simplify management.
Optimize Your Product TitlesYou don’t need third party feed management tools to tweak your product titles, you can do it all with Merchant Center Rules.
Ideally, your product titles should include as much specific information about your products as possible. Your product titles are how Google determines what keywords to display your ads for. If you get this right, you’re going to get a lot more quality traffic to your store.
What to include will depend on the product vertical. Here’s what we recommend for the most common product categories:
| Category | Recommended Structure | Example |
| Clothing | Brand + Gender + Product Type + Attributes | Polo Men’s Dress Shirt, Black Medium |
| Food or Supplements | Brand + Product Type + Attributes | Snickers Chocolate Bar, 1.86 oz, 12-pack |
| Electronics | Brand + Attribute + Product Type + Model # | Samsung 65″ 4K UHD HDR LED Tizen Smart TV (UN65RU8000FXZC) |
| Books | Book Title + Format (hardcover, softcover) + Type + Author | The Day The Earth Stood Still, Softcover Novel, by Ray Bradbury |
| Seasonal | Occasion + Product Type + Attributes | Halloween Candy Kisses, 100-pack |
Providing you have set these attributes in your feed, you can create entire product titles using a rule. And, if Google doesn’t offer a particular attribute such as “author” you can add the author field using custom labels. You could also create and apply custom attributes in Merchant Center, but that can require creating a number of rules and makes for a long term management nightmare if you’re not careful.
Before you start, ensure that your feed data is complete and makes sense to a casual visitor.
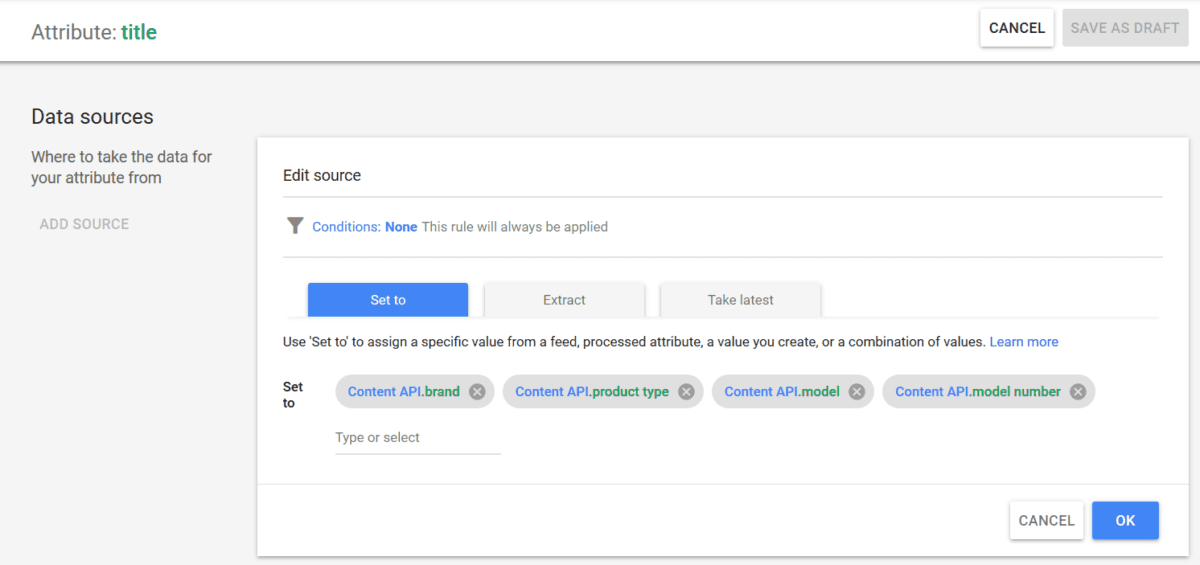
Creating the Feed RuleTo create a rule, go to Products / Feeds, and click on the product feed name. Choose the feed rules tab and press create rule to get started. Starting building a rule by choosing the title attribute. We don’t need to create any “conditions” unless you plan to only apply this title template to some of your SKUs. Click “set to” and start typing your first attribute; choose the matching feed attribute where possible, or processed attribute if necessary.
Click OK when you’re done. Give your feed some time to update and sync with Google Ads. Typically this happens within an hour or two but may take longer for large feeds. Review your handiwork carefully, ensuring that the new product titles make sense.
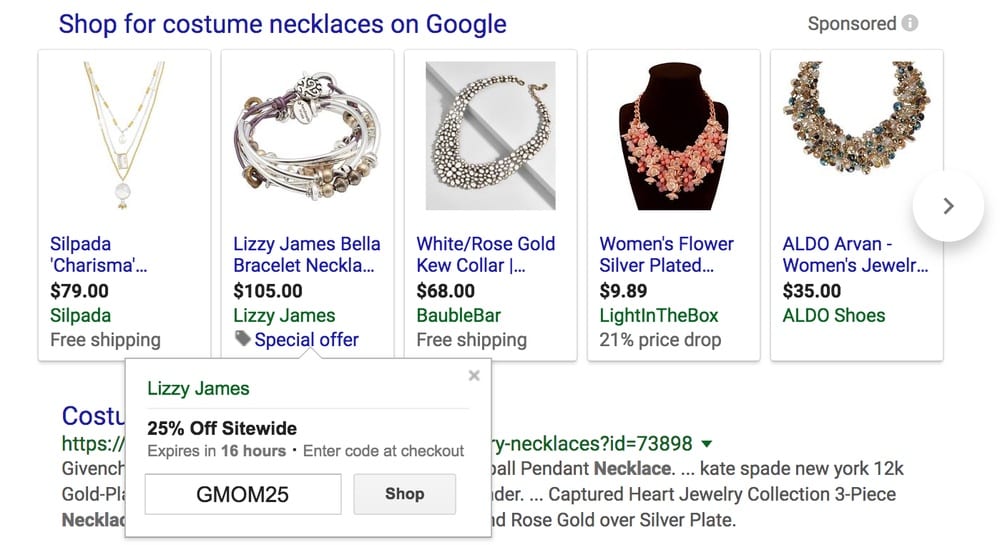
Run a PromotionShopping promotions display discounts, free shipping, and free gift offers below your shopping ads. These aren’t much different than search ad promo extensions but are set from within Merchant Center. These promos drive higher click-through-rates (CTRs). In turn, this will lower your average CPC, drive more clicks/conversions, and increase overall performance.
To get started with shopping promotions, you need to first apply for feature access. Go to Growth / Manage Programs, and find the Merchant Promotions program. Click “get started” and complete the short application form. In our experience, approvals are usually received within a few hours on business days.
Google will send you a confirmation email and instructions on how to create different promotions. The guide really isn’t necessary as the interface is straightforward and easy to use.
How to Create a New PromotionTo create a promotion go to Marketing / Promotions and click on the “+” symbol. Select the target country, choose shopping ads, and promotion category. Google has thoughtfully built in a lot of logic. For example, if you are offering a percent off discount, you can apply it to all purchases, purchases over a certain quantity, or for additional items of the same type.
On the next page, you will choose which products the promotion applies to. You can apply it to all products, products that match a particular attribute (e.g. brand = “x” or product_type =”y”), or by flagging all on-sale items in your product feed using a unique promotion ID.
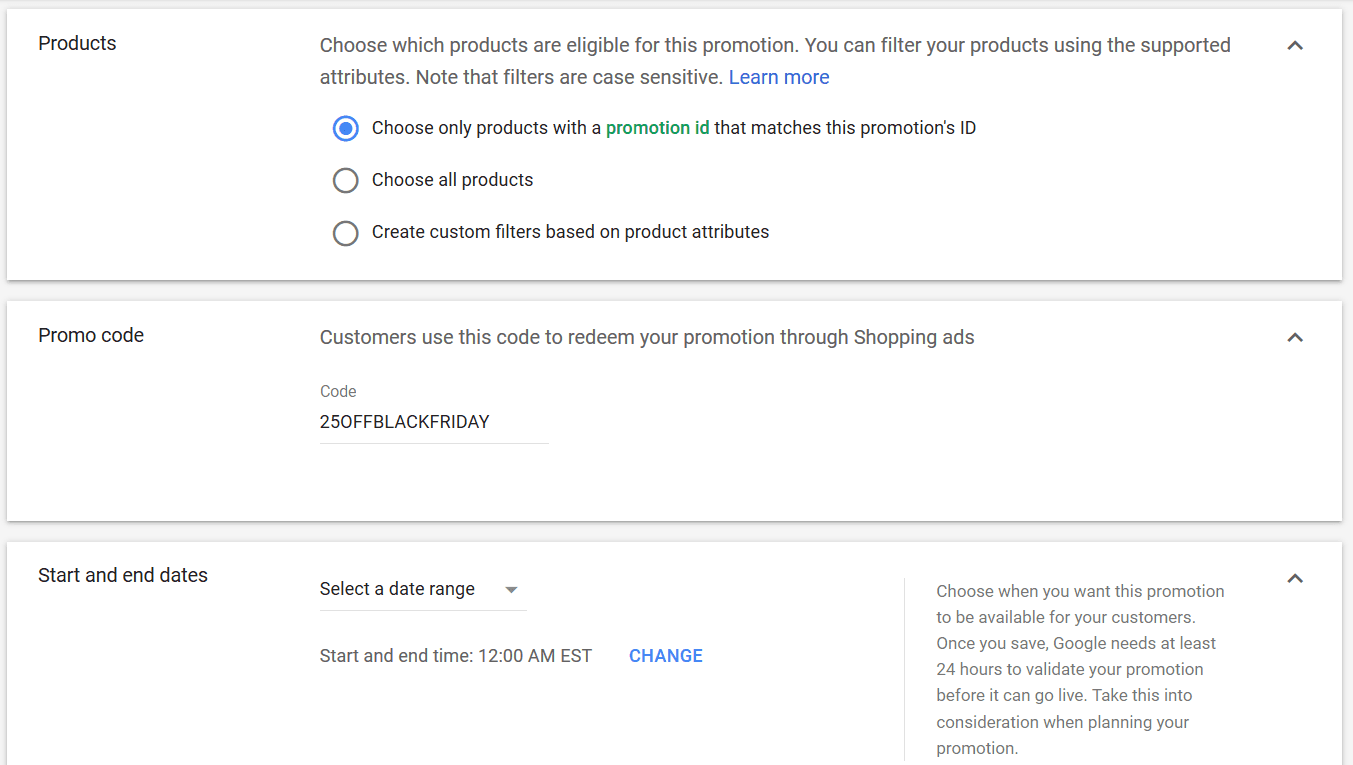
You can optionally add a promo code here. We recommend this for a few reasons. First, it’ll activate that floating pop-up you see in the example above. Second, consumers love to feel like they are getting an exclusive deal and will tend to convert more.
Finally, set the start and end dates for the promotion.
You will need to add a title and ID for the promotion. The title will be displayed in the promo so make it sensible for the viewer. The ID will be hidden, use something that makes it clear internally what promotion this is.
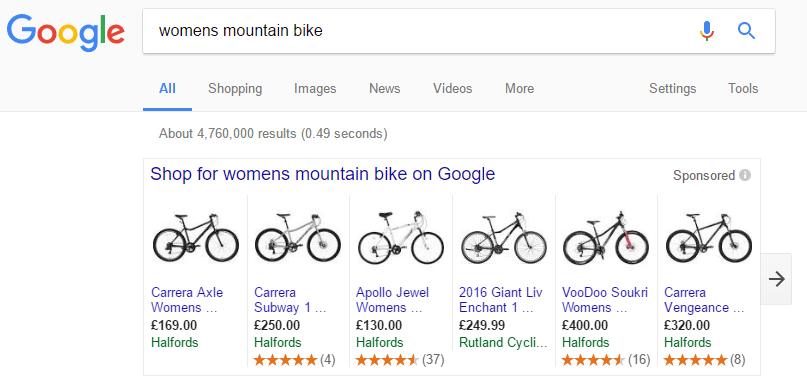
Show Product RatingsProduct ratings displays product-specific star ratings below your shopping ads. The star ratings drive up CTRs which also lowers your average CPC, increases clicks, and drives up profitability.
To qualify you must have at least 50 product reviews for all products in your store. And, you must have at least 3 product reviews for any individual product for those ratings to show below your shopping ads. You can display reviews using your shopping cart’s native reviews system, a plug-in, or from approved review aggregators, here’s a list.
Just as with the Promotion program, you need to apply and be approved to show product ratings. To get started, go to Growth / Manage Programs, and find the Product Ratings program. Click “get started” and complete the registration form. As with most programs, approval is pretty fast, usually within the same day.
Once you’re approved for the program there is nothing else to do.
Show Customer ReviewsNot to be confused with Product Ratings, the Customer Reviews program is about Seller Ratings. In other words, this is reviews for your store, not for specific products sold by your store.
Important to note, Customer Reviews don’t show up in Shopping Ads. Customer Reviews are displayed in paid search campaigns, on Google’s Shopping site, and on a Google supplied badge for your website. Applying for the program is simple. Go to Growth / Manage Programs and find the Customer Reviews program. Agree to and submit the terms & conditions agreement.
Qualifying, on the other hand, is a little different. You need to have at least 150 reviews and an average score of 3.5 stars or better for your score to appear. Reviews can come from a wide variety of sources including Google Customer Review program and a number of 3rd party services.
Here are all the Customer Reviews 3rd parties.
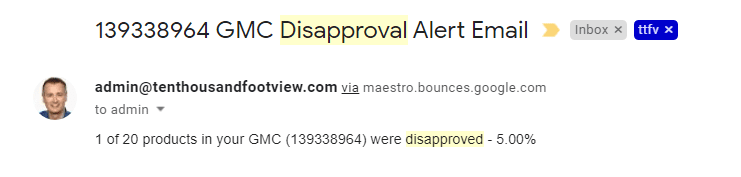
Get Notified of Product Disapprovals AutomaticallyGoogle Merchant Center will send you an email notification if your entire feed goes offline or if your feed is threatened by not complying with a particular policy. But what about those times when a number of products get disapproved? You might not realize there’s any problem until you notice a bid dip in Google Shopping spend or happen to log into Merchant Center and have a look around.
Daniel Gilbert from Brainlabs recently built a Product Disapprovals script. It counts the number of disapproved products in Merchant Center and sends you an email notification if the % exceeds whatever target you set.
Installing the script is quick and easy. Go into your account scripts area and create a new script.
Important: if you don’t know where to find this it’s probably not a good idea for you to be messing around with scripts.
Name it “Product Disapproval Checker” or similar. Copy the script from here and paste it into the script box. Under advanced APIs, check off the “Shopping Content” option. Now update the following variables:
- Add the email address(es) where you want notifications to be sent
- Input the ID for your Merchant Center Account associated with this Google Ads account
- Set the disapprovals % threshold you want to target using a whole number like 5 without any % sign
With respect to setting the threshold, it’ll depend on a few different factors. For a small number of SKUs (<100) that are normally all approved you might set the threshold to 1%. You’ll automatically receive a notification if any product gets disapproved. For a larger account with thousands of SKUs, where it’s normal to have 2-3% of SKUs disapproved, you might want to set the number a bit higher. Really you need to use your own good judgement. You can always change the target threshold later if you find it’s too low or too high.
Test and save the script. Interestingly, we see validation errors when we test the script but then it works perfectly when we run it live. Maybe this is a temporary bug with the version of the script we’re using.
Once the script is working you need to set it to run on a schedule. If you have a massive account that you work on every day I’d say set it to run hourly. If you have a small stable account and only check in about once a week a daily run should be sufficient.
That’s it, you’re done. This doesn’t mean you should never have a gander at Merchant Center, but at least you’ll catch any major problems between reviews.
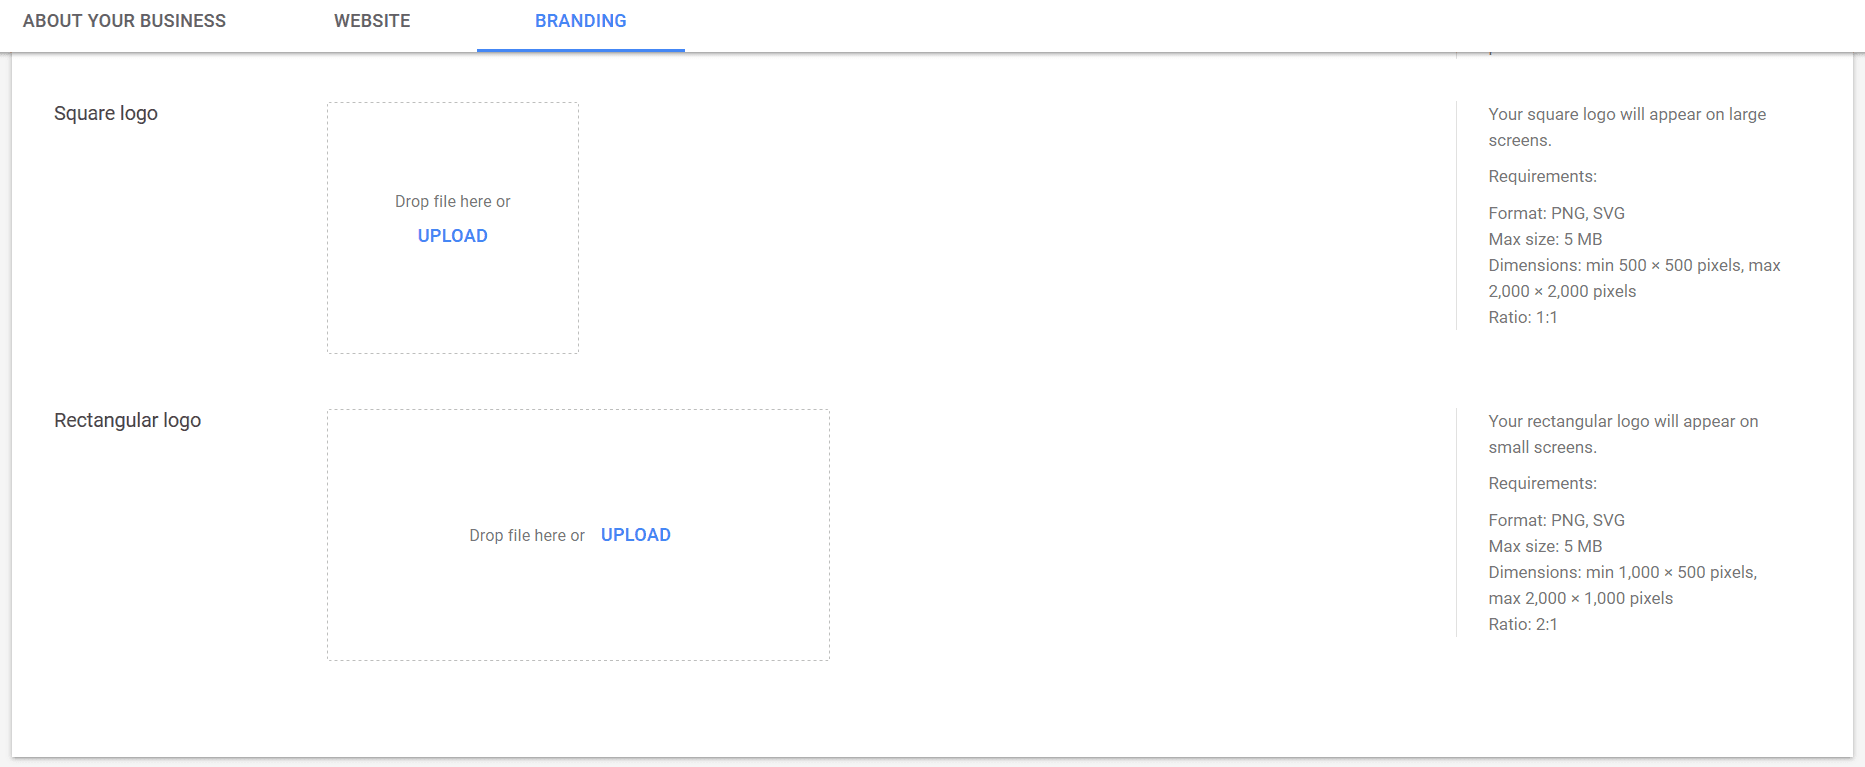
Set up BrandingIf you don’t include branding in your Merchant Center account you may not qualify to run certain ad placements. Furthermore, if your ads do run, people won’t see your brand, and by now I’m sure you understand how important branding is.
To add your logos select the Wrench icon and choose About Your Business. Click on the Branding tab. Here you can add square and rectangular versions of your logo as well as appropriate background and accent colors.
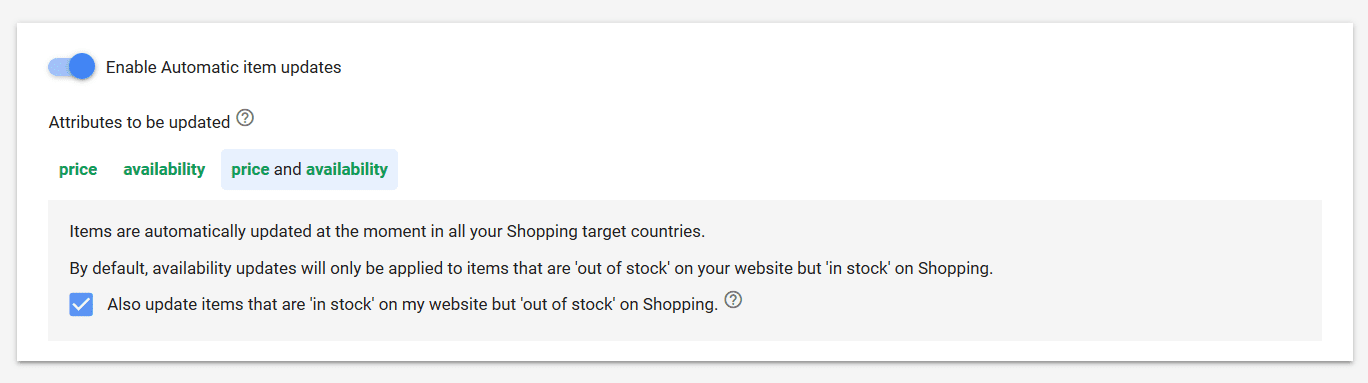
Google can assist you to automatically sync pricing and availability in your ads with what’s on your website. This is helpful to avoid the delay between changes in your store and syncing of the shopping feed in Merchant Center. We generally recommend turning this feature on.
In addition, Google can enhance your ad images by automatically removing promo overlays. This can fix SKUs that are otherwise unable to run. We don’t recommend turning this feature on unless you have a number of disapproved SKUs due to the image overlay issue. And, in the long term, it’s better to fix the images professionally.
Both features can be accessed from the wrench menu under Automatic Improvements.
SummaryGoogle Merchant Center offers a lot more functionality than it gets credit for. Ensure you use all available features to enhance your shopping ads and you’ll see a very nice bump in campaign performance.
Note that this article touches on a number of Merchant Center features that are often missed or ignored by advertisers. It by no means covers the full range of management required to properly build & optimize shopping feeds and ad campaigns.
If you’re having a tough time meeting your shopping campaign performance goals feel free to reach out to us. We can perform a free account assessment and help you get on track.